What Are Charges & How To Use Them
The examples in this guide are from the Charges dashboard, but the same principles apply in Charges By Product.
Required User Rights
These functionalities require at least the following user rights:
- 2700 Menu – Billing
- 3514 Menu – Charges by Product
About Charges
When we speak of charges in Good Sign, we can mean, for example, a software licensing subscription. The charge defines what services you are entitled to invoice from the customer.
All individual charges are connected to an organization and an object within that organization. A Charge is also always connected to a product. This connection ensures that what will be invoiced is priced against the correct organization and eventually invoiced from the correct organization. A Charge is uniquely identified by a Charge ID (in the database this is Billingobject_id)
A Charge has a validity period. The validity period can be several months or even years, or it may only be valid “in month”, at a minimum of one second to qualify for invoicing. The validity of the charge controls its behavior in invoicing.
Example: A charge has a validity period between 2022-04-01 and 2025-12-31. This means, that from the same individual charge an invoiceable charge will be automatically generated every 1st of a month between 2022-04 and 2025-12. So, in 2022 there would be 9 separate invoiceable charges invoiced, and then 12 per year up until end of validity.
A charge that is valid for several months represents a recurring monthly fee that you enter once and then it automatically results in monthly invoiceable charges.
Key Phrases
Organization – Any instance that can be sent invoices to.
Object – A dynamic data container that can have invoices created from charges. Objects have different Types and Profiles. An object can be i.e., a car, a server, a sim card, etc. It’s a way to store any data record, which can be charged for, or it can be background information for creating charges. Must have a unique ID.
Product – The specific item that is being charged for i.e., a base fee, a call minute, a text message, an extra kilometer, etc.
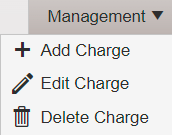
Management menu – The Management dropdown menu is situated in the top-right corner of the interface. The Management menu works in the same way as the right-click of the mouse, it changes depending on what has been selected on the interface.
Charges vs Charges By Product
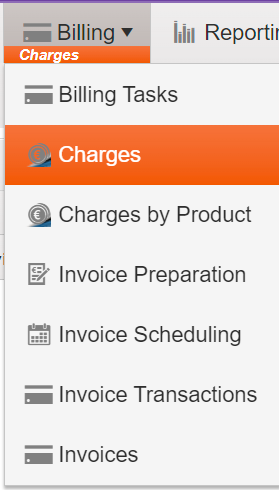
You can manage charges in two dashboards: Charges and Charges By Product. The only difference between these two is that they have different Organization Trees and thus are organized differently. Charges is organized by organization and Charges By Product is organized by product. You can do all the procedures discussed in this document on either one of these dashboards.

Tip: Make sure to have the correct time selection (see Figure 2) while viewing or managing charges. This filters the grid to only show you the charges in the chosen time period. For example, to view the charges of the previous month, remember to choose Previous Month.
Adding a Charge
Charges can be generated by a user via Good Sign, automatically by rules in Billing Tasks, or via an API interface. It is typical to use Billing Tasks to generate charges, but manual charges can be generated as well. We’re going to focus on the Add Charge service in Good Sign, which lets the user generate manual charges.
Add Charge
- Go to Billing > Charges
- From the Organization Tree, choose the organization, where you want to add the charge
- Choose Add Charge from the Management menu (see Figure 1)
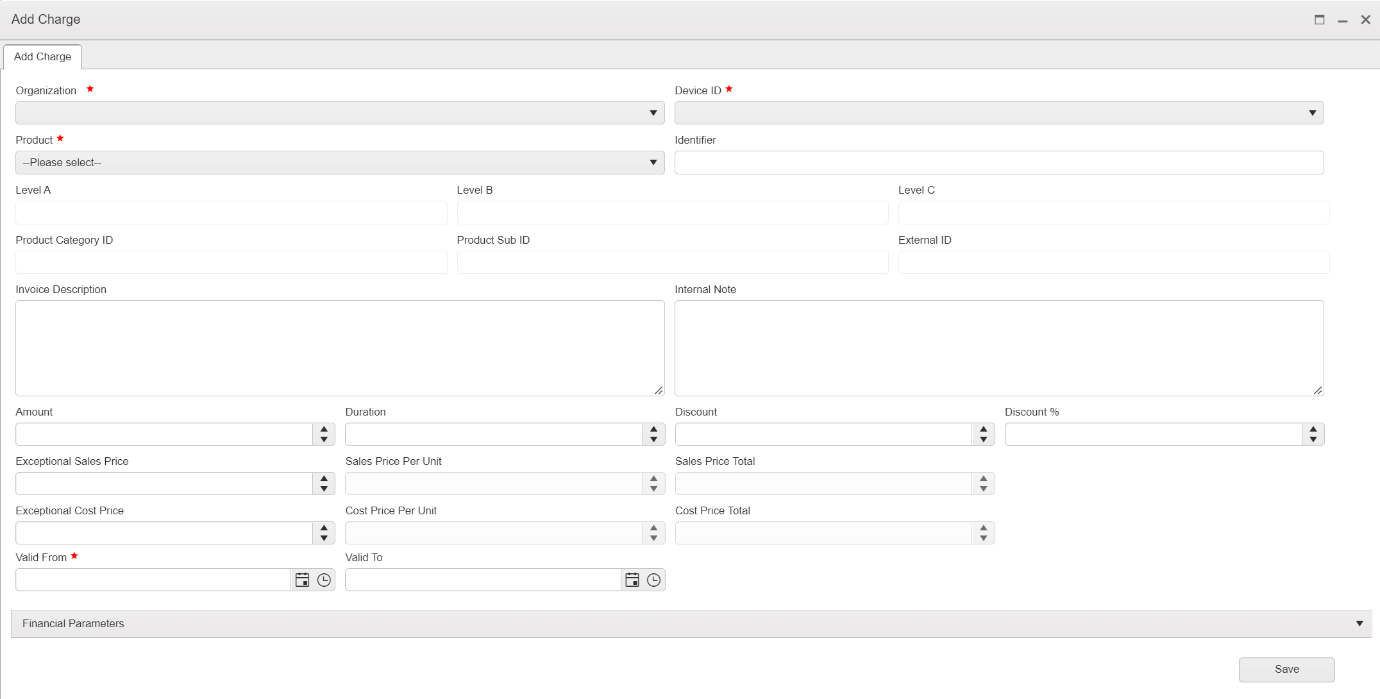
- Choose the Device ID, which is the object that the charge is referring to. By default, the charge is only connected to the organization. If it’s necessary to connect the charge to a certain object, it is easily done by starting to type the object name and then finding the wanted object with the right organization
- Choose a Product
- Give Valid From/To times and dates. Leaving the Valid To date/time empty will generate a monthly occurring ticket, putting both dates in the same month will generate a one-time ticket. When the start/end dates are in different months, the ticketing will continue until the end date and then end automatically
- Amount should be filled in for the charge to work
- Typically, you don’t need to enter pricing information. In exceptional situations, you can enter the Exceptional Sales Price. Prices explained:
Exceptional Sales Price
When overriding the Sales Price Per Unit's price. Use when the needed price differs from the Sales Price Per Unit value Sales Price Per Unit The unit price that has been defined in the price list Sales Price Total By entering the amount, this field dynamically calculates the total price (Sales Price Per Unit x amount) Cost Price if there are cost prices in the system, they would be presented in these fields - Additionally, you can also fill in the other information
- Once you’ve filled in everything you want to include in the charge (but at least all the parts marked with a red star), press Save
- Press Yes to confirm the adding of the charge
Note: In Finance Parameters, you can override the normal accounting dimensions that are defined in a product.
Note: The Identifier is used to differentiate between charges that have been made from the same object in the same organization during the same month from the same product. Good Sign doesn’t accept these types of multiple charges, unless they are identified differently.
Edit Charge Window
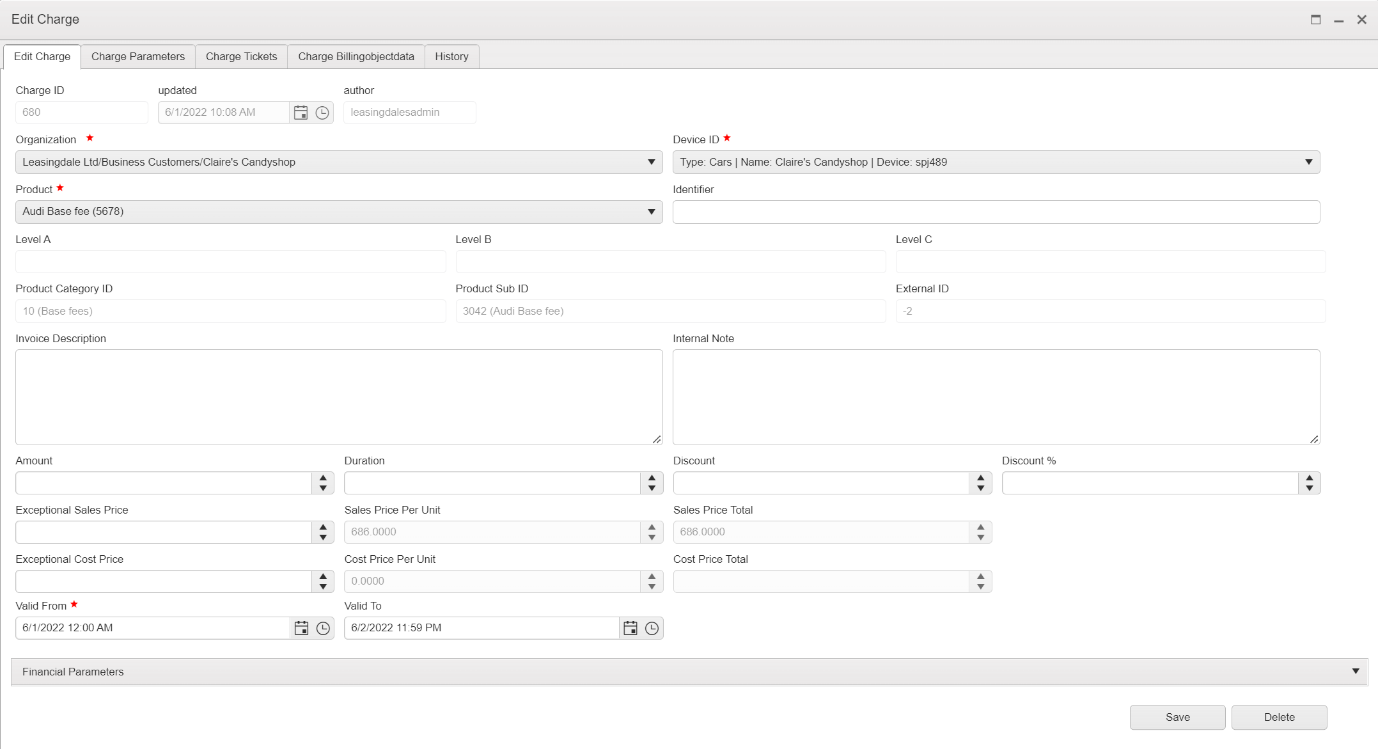
In Edit Charges, you have several tabs, where you can view and manage additional information. These are Charge Parameters, Charge Tickets, Charge Billingobjectdata, and History.
In Charge Parameters, you can add additional parameters that can be customized for your specific needs.
Charge Tickets are the actual records that are priced for invoicing and collected to invoice. It counts the billing days, taxes, and to which invoice the charges will be collected. Here you can also see if the charge has already been invoiced or not. Once there’s an Invoice batch ID in the Customer_invoice field, the charge has been invoiced and can no longer be modified. The Pen icon in the Pricing_id field opens the price row on which the price is based.
If a charge has been created automatically, the Charge Billingobjectdata tab shows the data populated by the billing task. You can also see which billing task produced the charge. By pressing the pen in Task in Charge Billingobjectdata, you can open the billing task that produced the charge.
In History, there are two parts: the Owner History and the Charge History. The Owner History tells you the history of the owners of the object being charged. Charge History tells you what changes have been made to the charge, when, and by whom.
Edit Charge
- If you wish to edit a charge, follow the following steps: Go to Billing > Charges (see Figure 2)
- Click on the charge you wish to edit
- Choose Edit Charge from the Management menu (see Figure 1)
- Make the changes you wish to make. If you wish to change the Organization, Device ID, or Product, it is recommended that you end the Charge i.e., at the end of the month and make a new charge to a new organization at the beginning of the next month
- Press Save
Note: If you edit a charge, the repricing will happen automatically in the background. The repricing checks that the pricing is still valid after the changes and makes necessary changes to ensure correct invoicing.
How to Delete a Charge
- Go to Billing > Charges (see Figure 2)
- Click on the charge you wish to delete
- Choose Delete Charge from the Management menu (see Figure 1)
- Make sure you have the correct charge and press Delete
- Press Yes to confirm the deleting of the charge
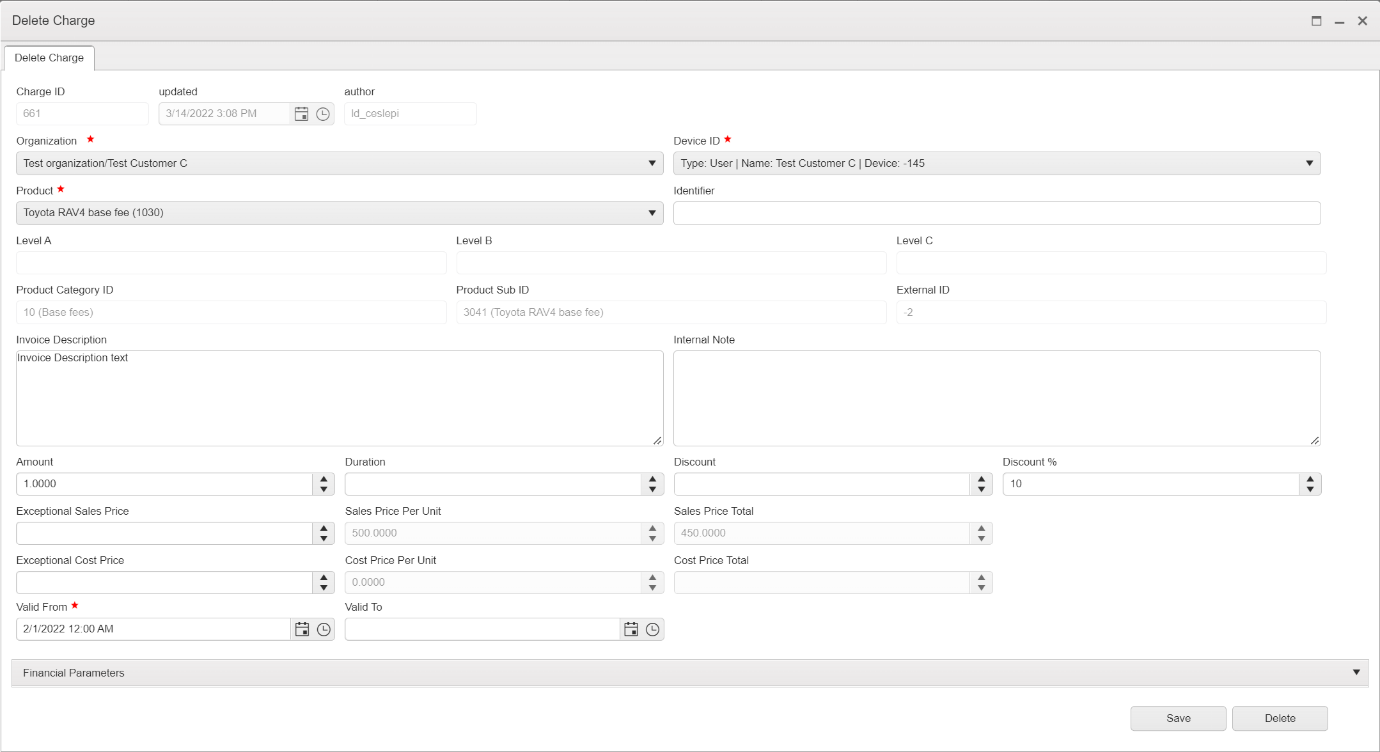
Caution: Charges should always be deleted by applying a Valid To date. When the Delete method is used, the Valid To date will be updated to the deletion date. This means that the current month will still get invoiced. If you do not wish this to happen, insert a Valid To date, that is before the running month.